
| Graham’s Walks | 📌 |
|---|---|
| Distance | 5.6 miles/9 km |
| Elevation | 1182 ft/360 m |
| Difficulty | Difficult |
| Map | 🗺️ |
| GPX | 📁 |
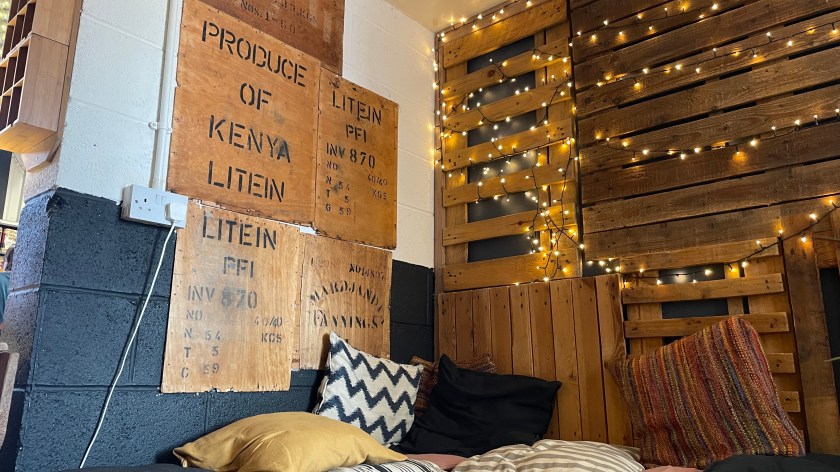
| Graham’s Cafe | You will drive past More? The Artisan Baker |
| Classification | Birketts KEN 2 |
The Area
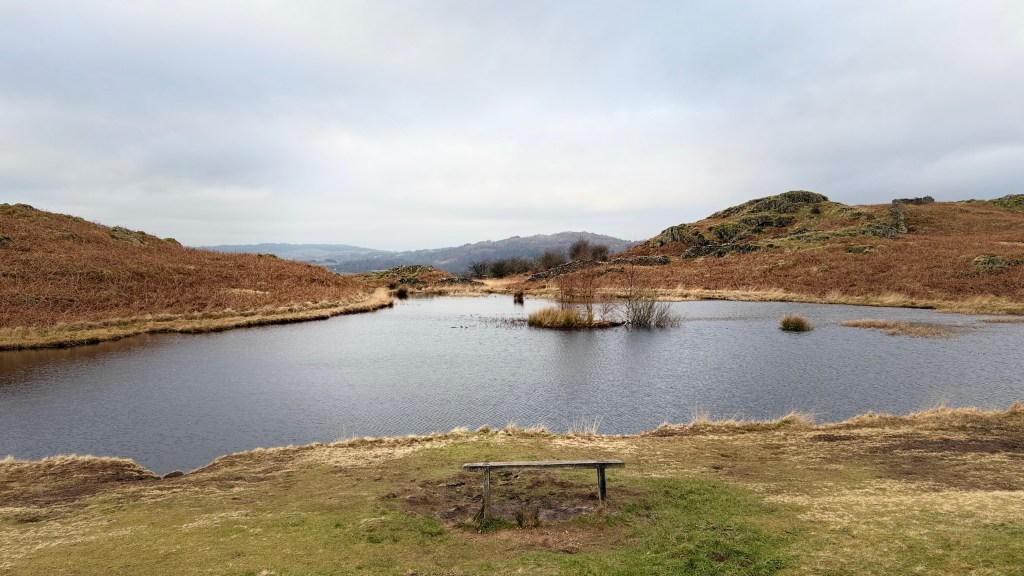
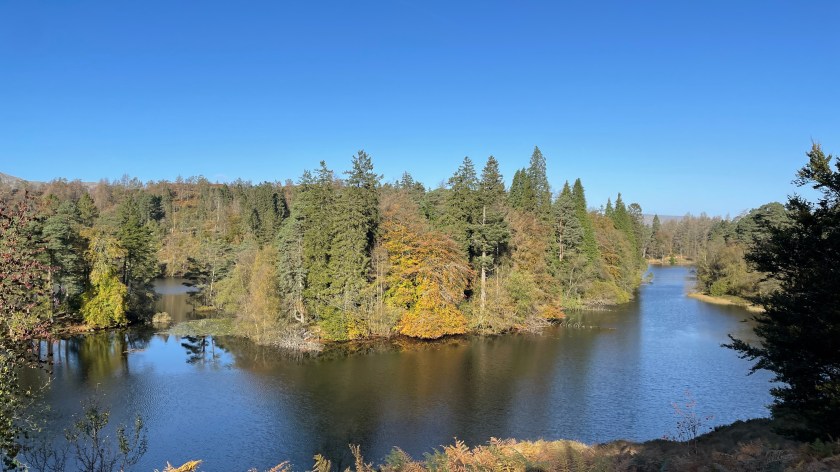
I must admit that until I was reading though Bill Birkett’s “Complete Lakeland Walks” I’d never heard of Skeggles Water. I say that as someone who has walked most areas of Cumbria and completed a round of the Wainwright fells. My lack of knowledge is a reflection of how little attention is given to the areas at the edge of the Lake District and the draw of the big peaks. It’s not surprising that people go for the larger fells and the more dramatic lakes but in doing so they miss the opportunity for a quieter day.
Skeggles Water sits in the hills between the valleys of Kentmere and Longsleddale. There’s no obvious origin to the name Skeggles; it was likely the name of someone from the Norse era who had the nickname Skeggi (beardy). Both valleys have long histories of settlement with evidence of Neolithic and Bronze Age activity (2,000 to 4,000 BC), the Romans used the nearby High Street as a route between their forts (100 to 400 AD) and there’s a Norse heritage in many of the place names.
We don’t really have strict rules for the way that we name things in English even though some people think we do. Kentmere suggests a mere (lake or pond) from the river Kent. However, it’s the valley and village that have become known as Kentmere and the mere is is known as Kentmere Tarn, further up the valley is Kentmere Reservoir. Confused?
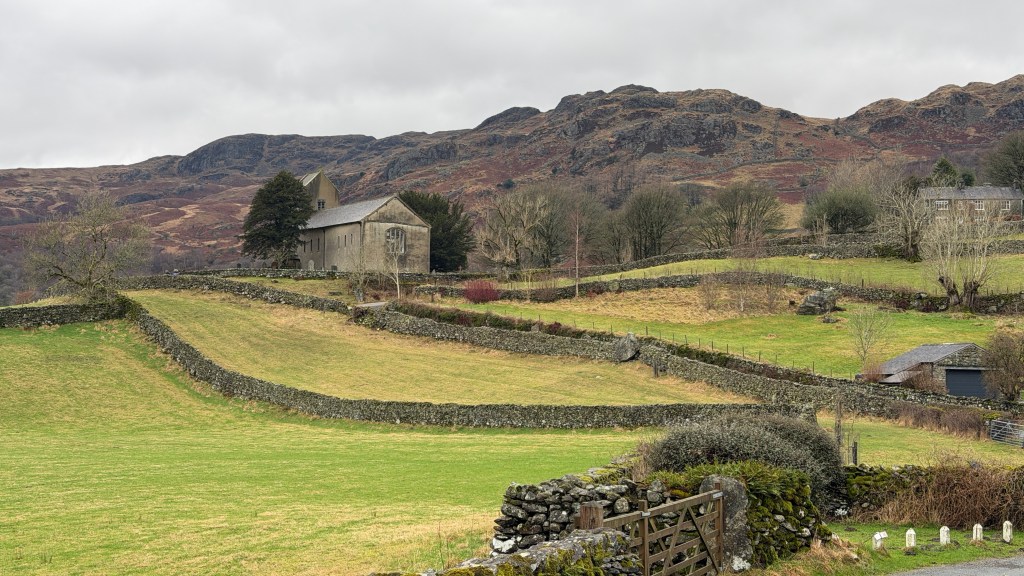
Most of this walk is across an area of Kentmere known as Green Quarter. In more feudal times the grazing around Kentmere village was separated into four areas with the village church at the centre. Each grazing area had an allowance of tenants, each tenant had an allocation of cattle. In 1760 each quarter had 15 tenants, each tenants was allowed to graze 10 cattle. Green Quarter appears to be the only one of the quarters still visible on the map.
The Walk
The route of this walk isn’t on all, or even most, maps. The first third is on a well defined bridleway; the second third takes a path around the tarn and up onto the fells, most of it looks like it is regularly travelled by a quad-bike but can be tricky to stick to as it’s not on many of the maps; the final third is back onto well defined bridleways. The navigational challenges are why I’ve marked it as Difficult.
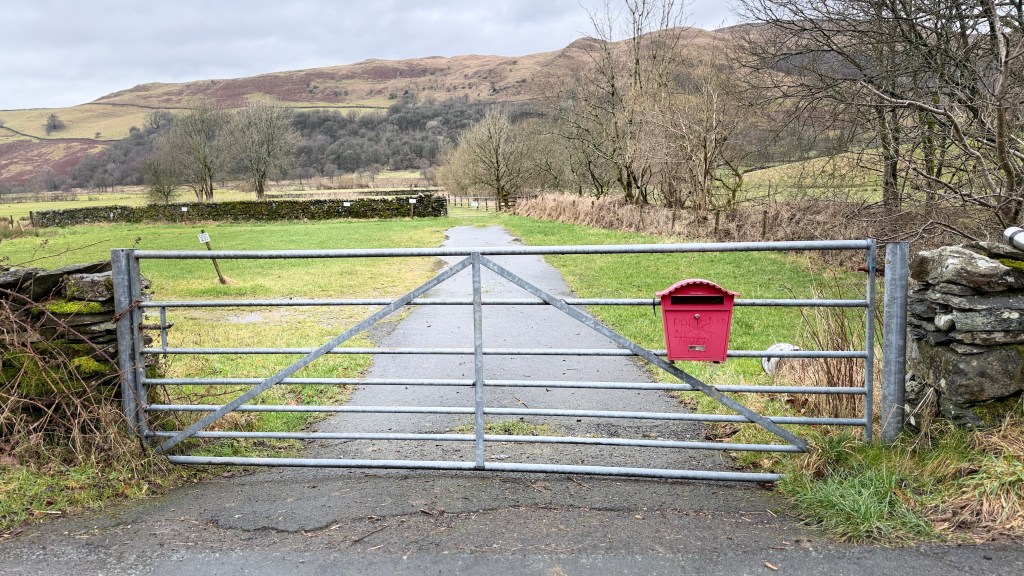
This walk starts from the village where there is very limited parking outside the Kentmere Institute for a donation. For most people this is also the start of the Kentmere Horseshoe a popular walk that contains numerous Wainwrights. In the summer there is also a car park in a field just before you enter the village. Away from these two parking areas there are very few areas to park and the roads are narrow. Don’t be that person who causes havoc for everyone else.
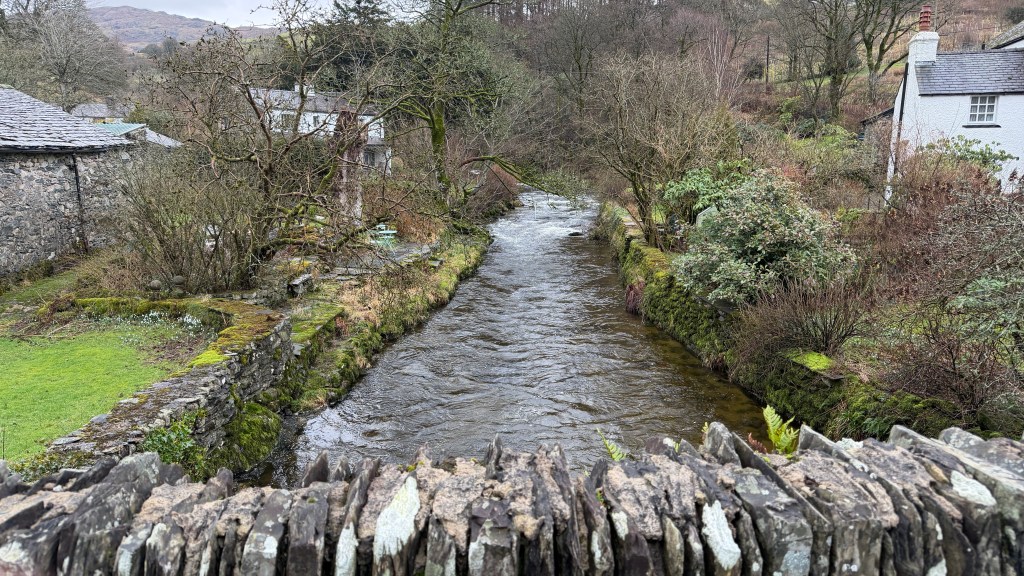
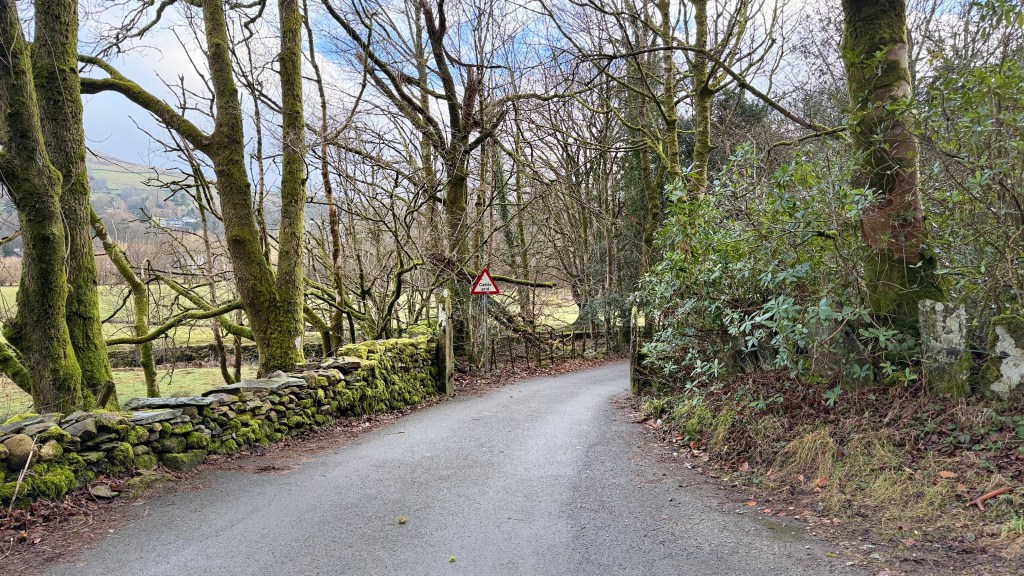
From the Institute head back along Hollingrigg Lane past the church and across the river; then turn left up Hellwell Lane.
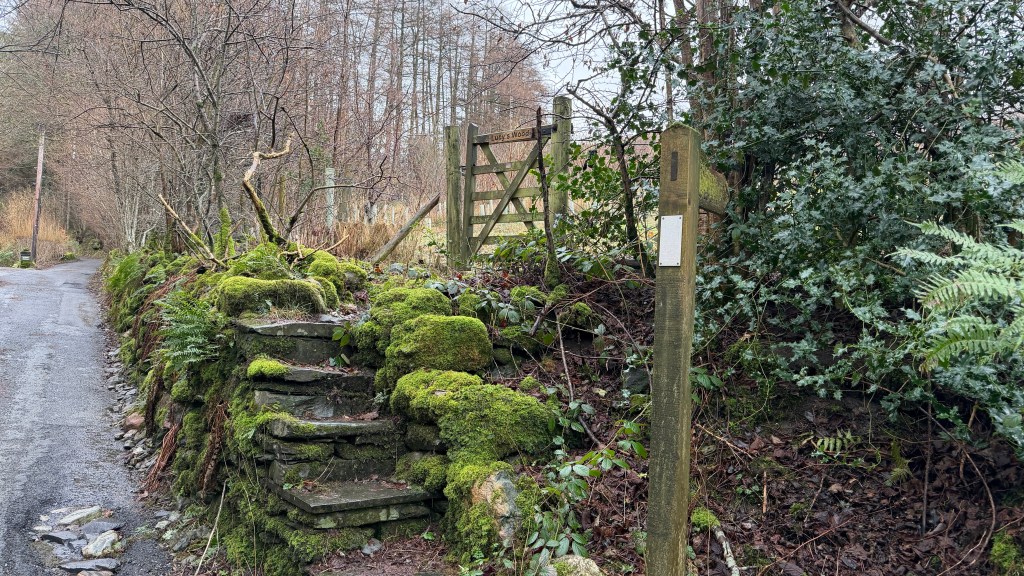
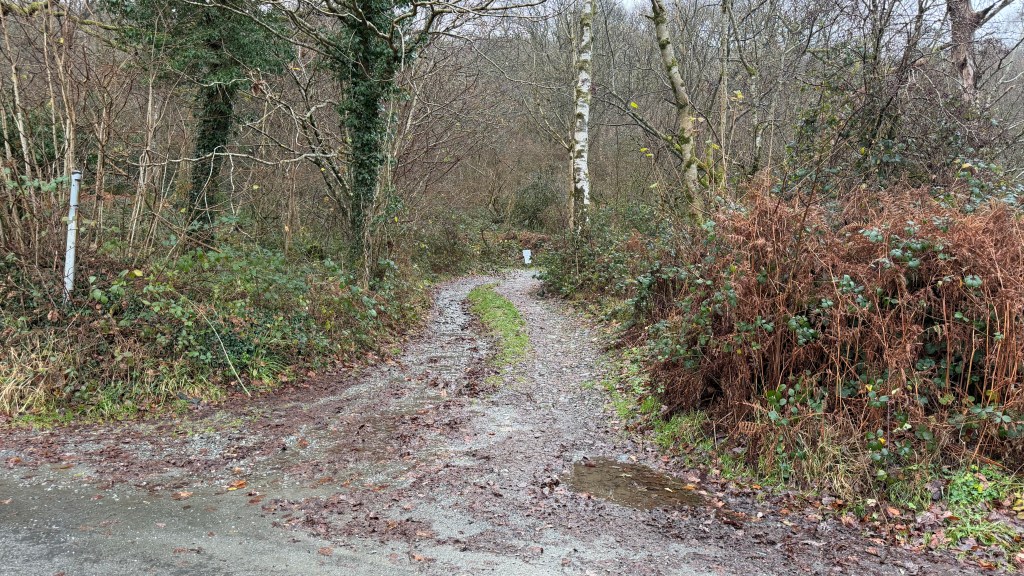
Part way along Hellwell Lane you’ll see a footpath fingerpost on the right and a small gate up some steps which has the nameplate Lucy’s Wood. The path goes pretty much straight up to another gate onto a farm lane which will bring you out onto Lowfield Lane. Turning left and up the hill a short way. There’s a bridleway on the right through a farm gate; this is Cornclose Lane.
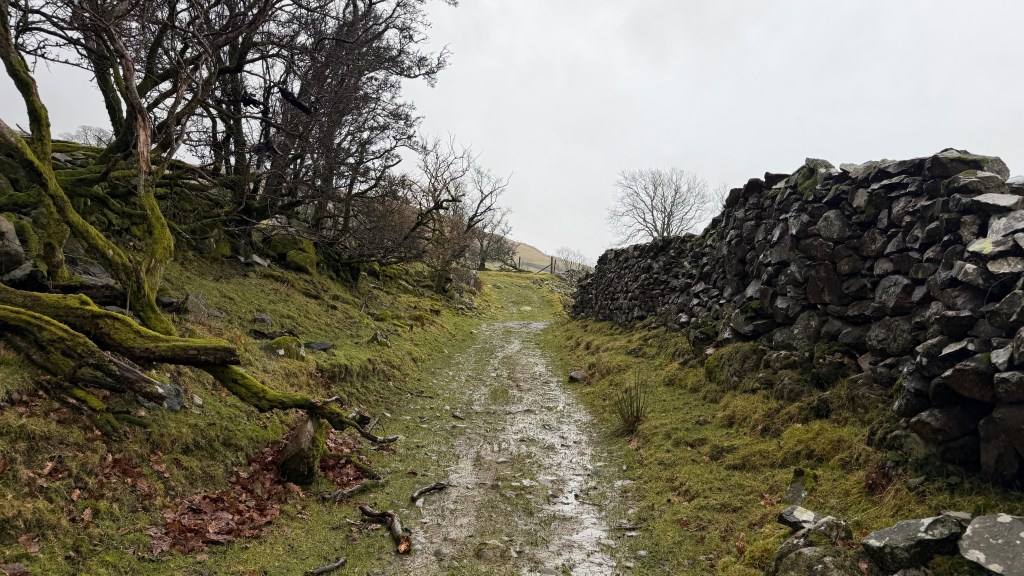
The route follows the bridleway for a little while until there’s a fork where we take the left hand option, the righthand route is marked as private. The path steadily ascends along the edge of the hill sweeping to the left.
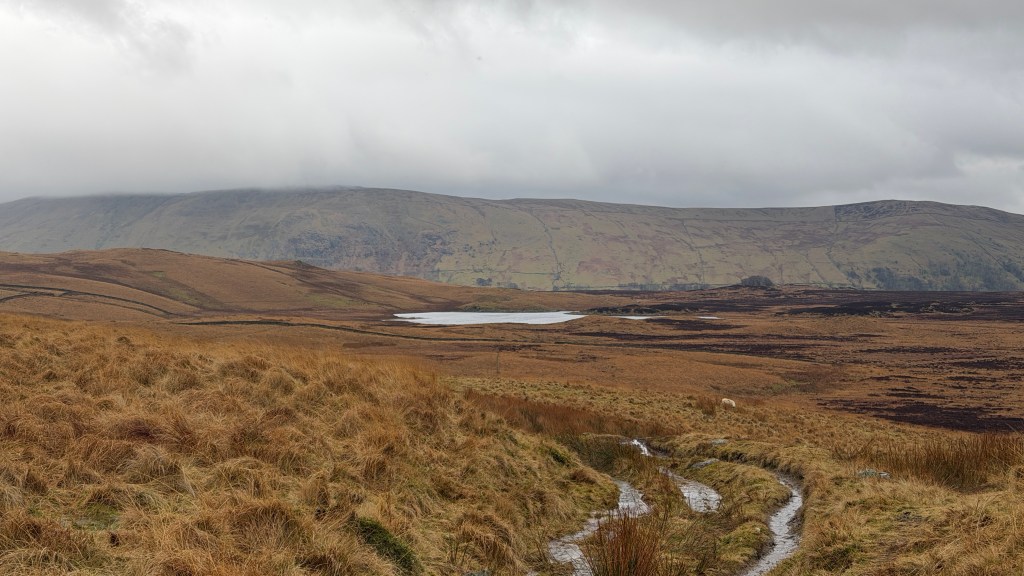
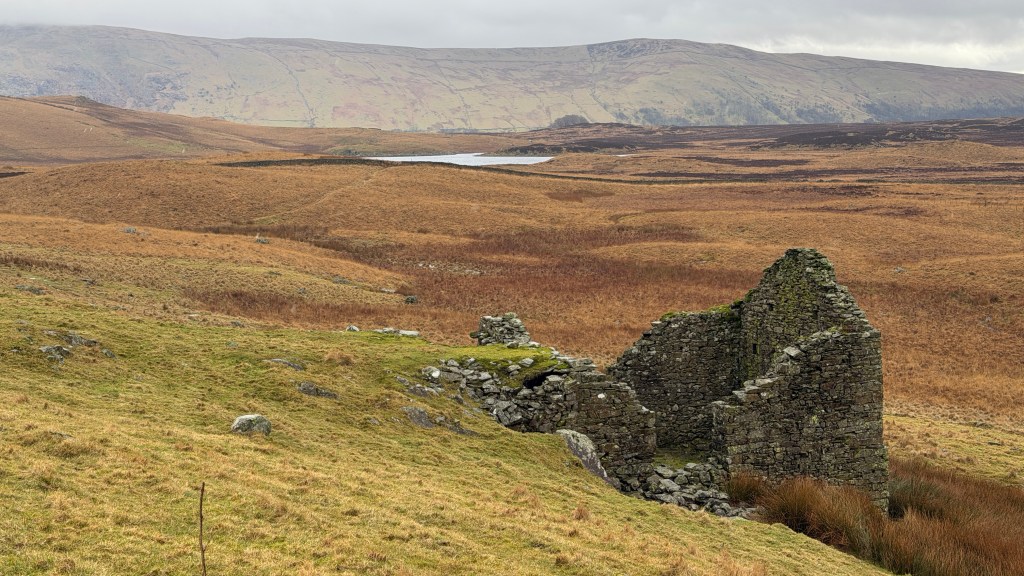
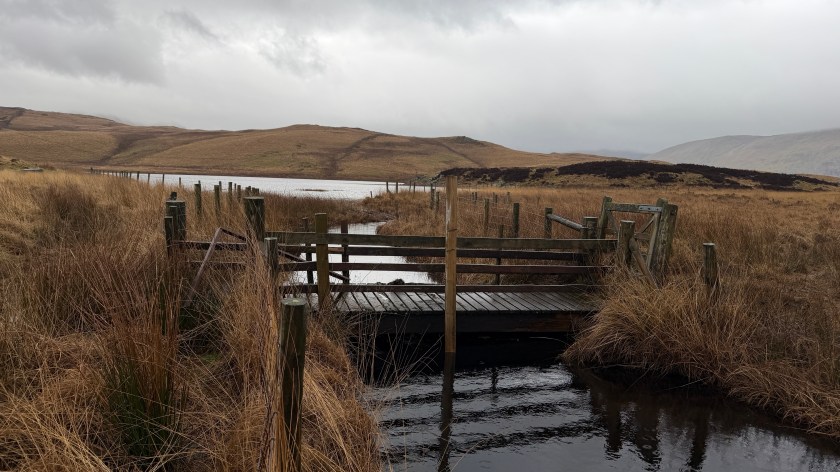
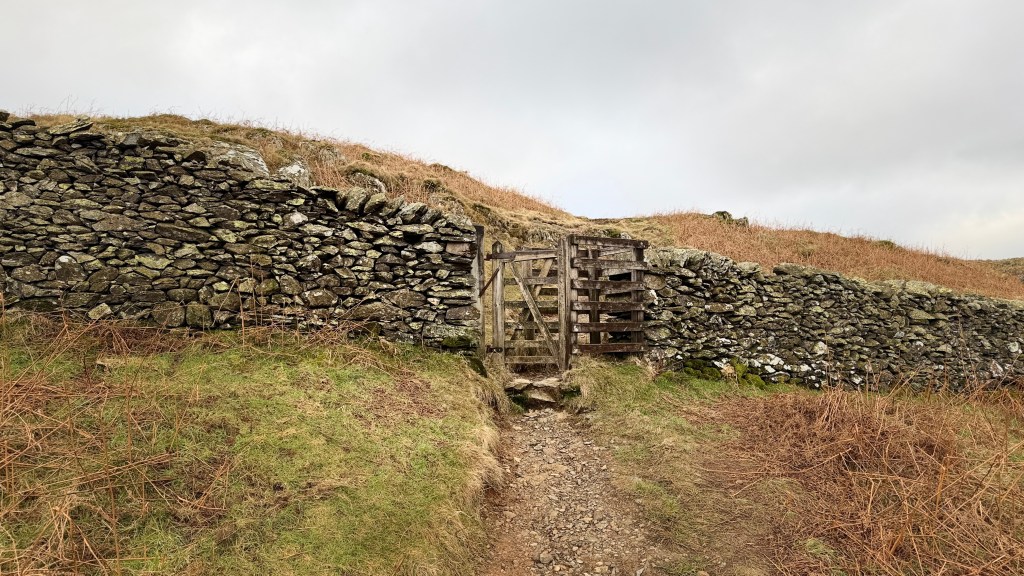
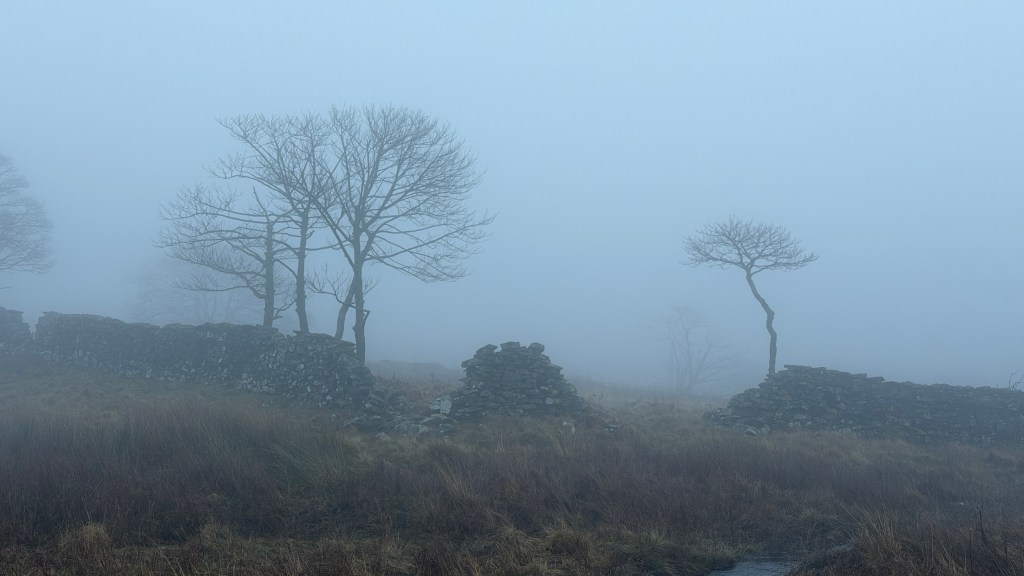
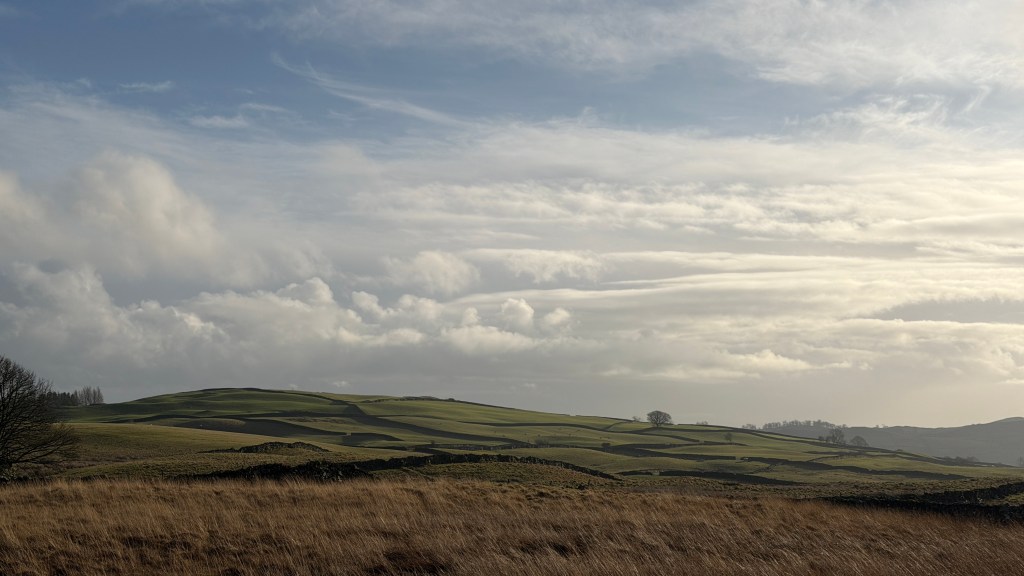
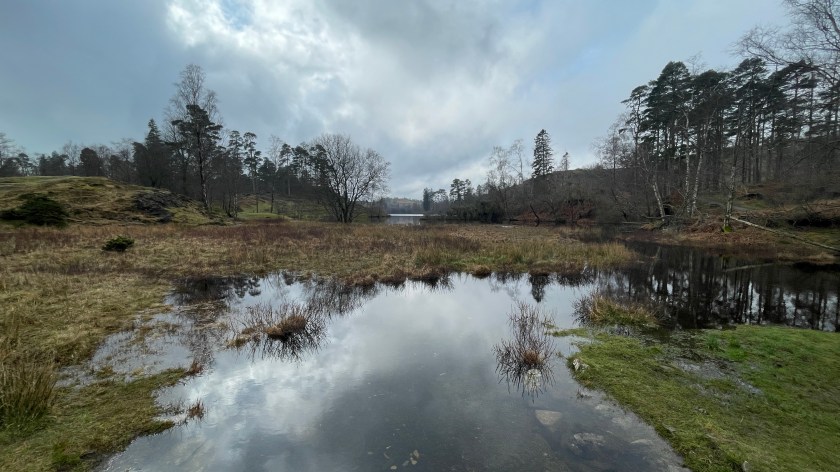
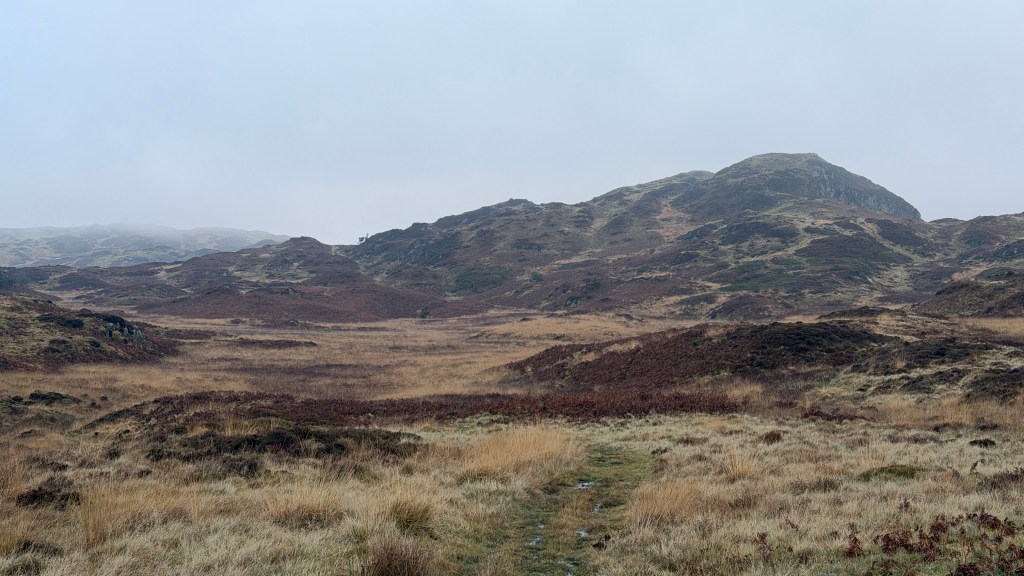
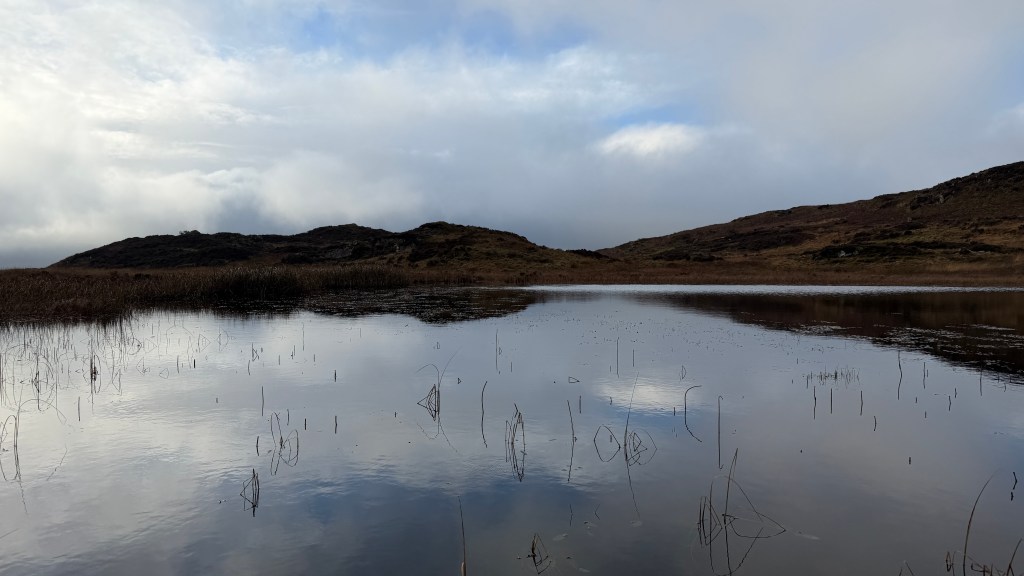
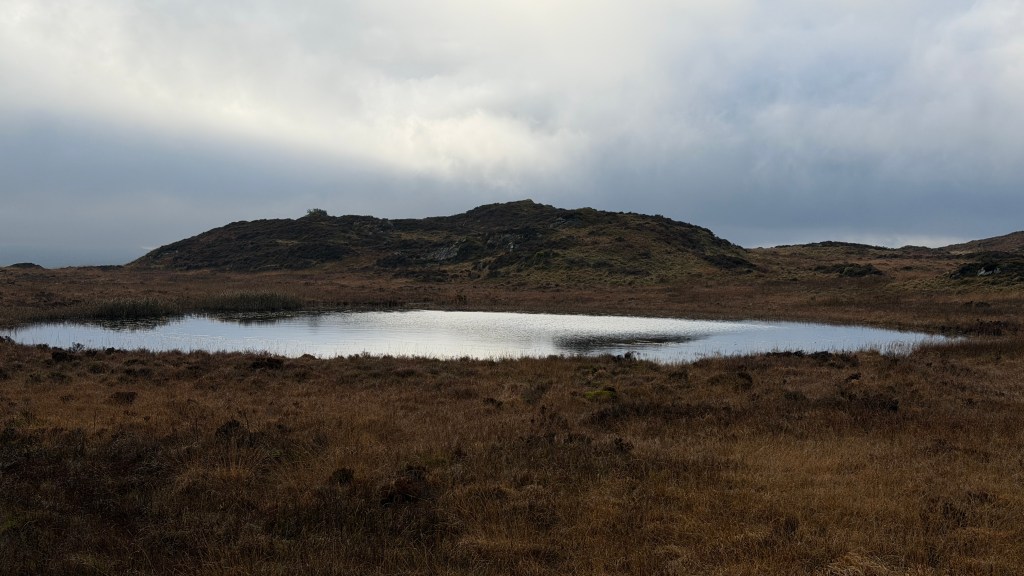
The path reaches an apex from which it descends into a shallow valley and you will soon be able to see Skeggles Water in the middle. Just off the path before you reach the water there is a barn ruin; just beyond it is a path leading to the southern edge of the lake through a gap in a drystone wall.
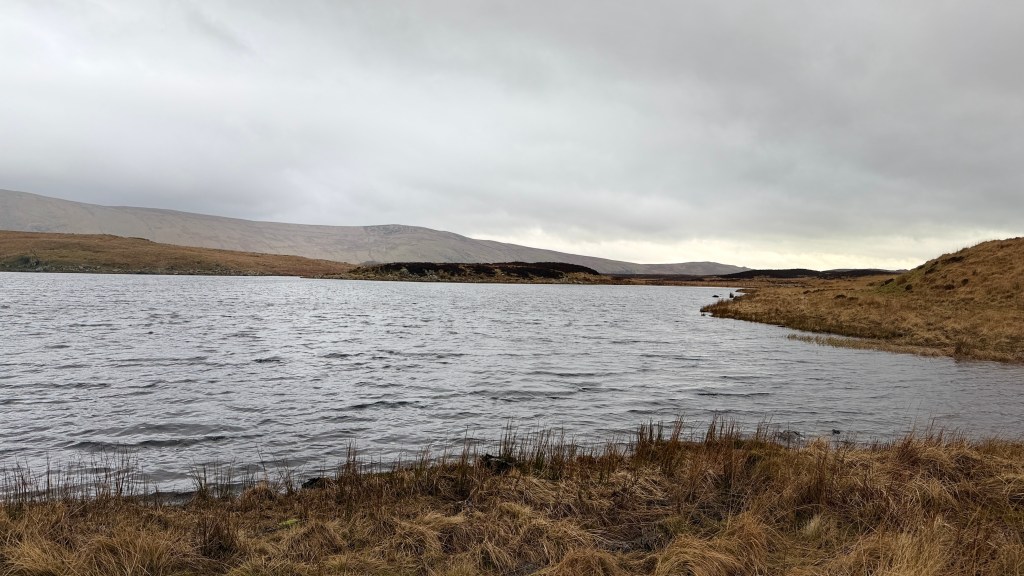
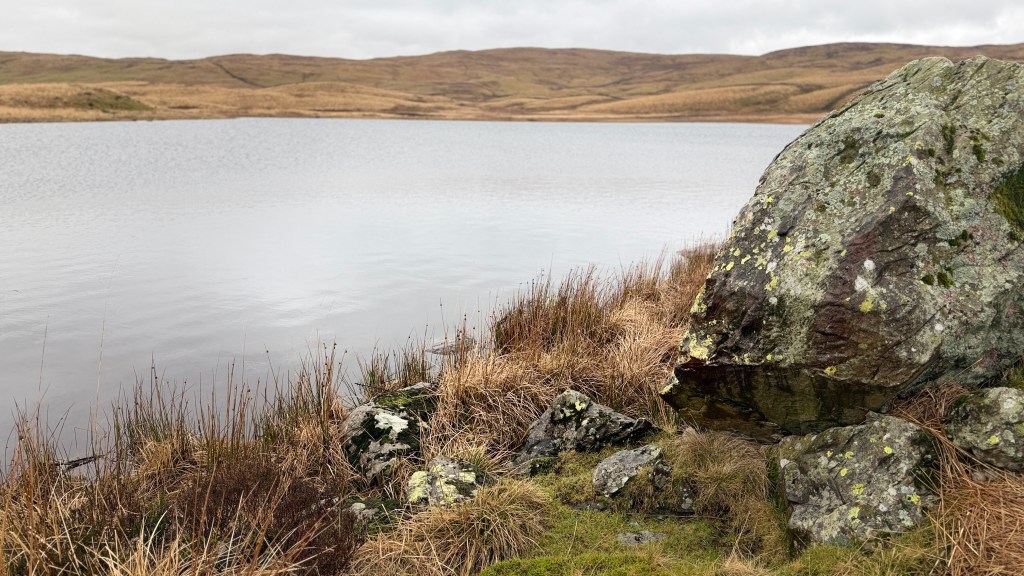
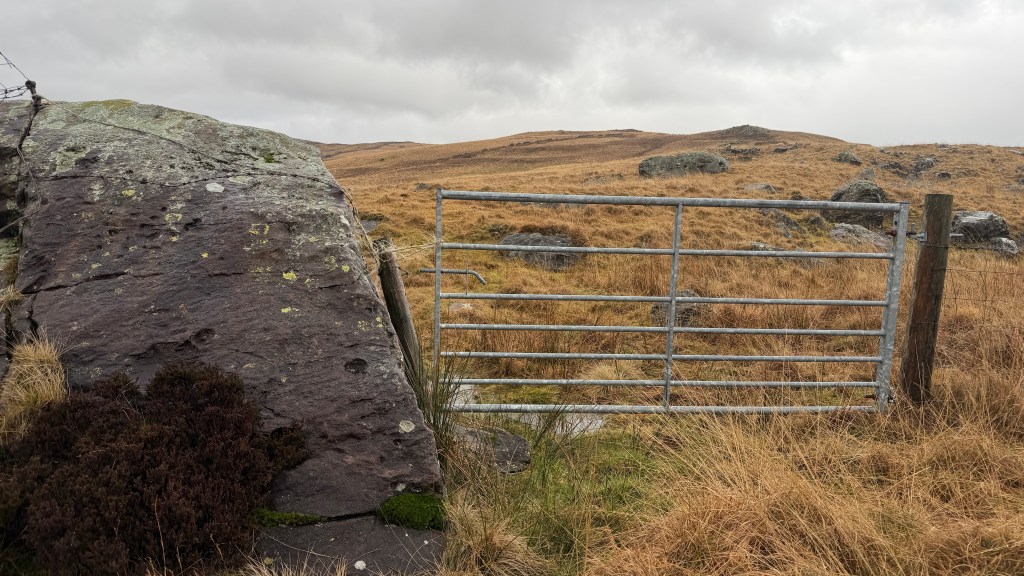
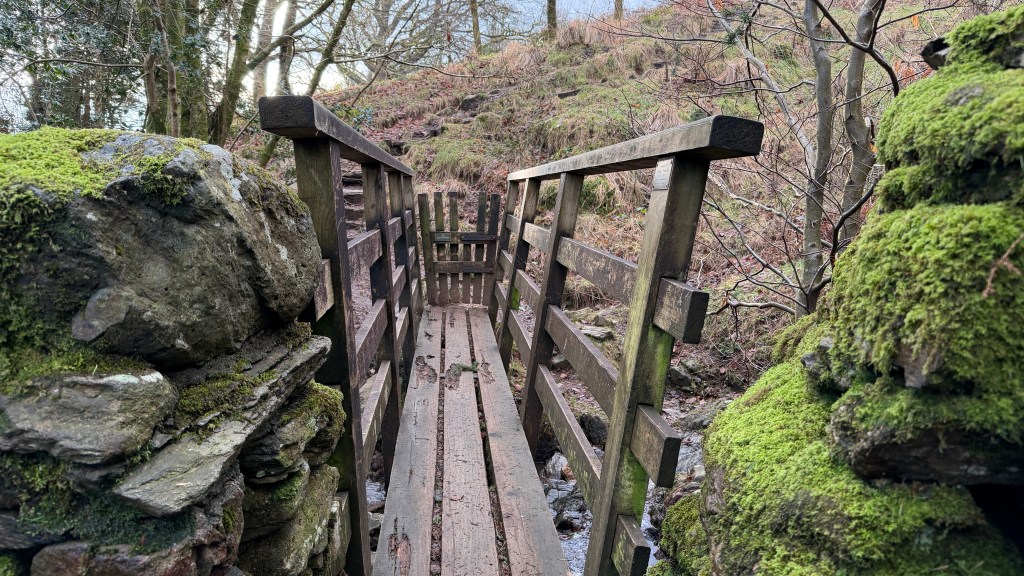
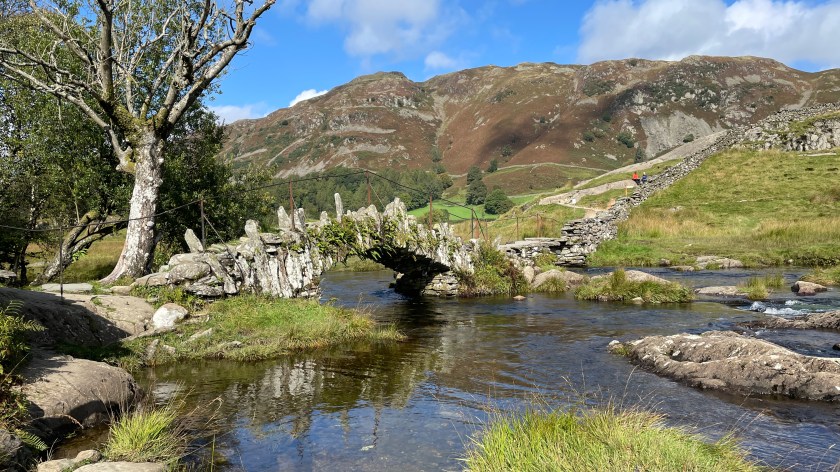
Keep on the path around the southern end of the water and you’ll come to a footbridge across the outflow stream. Continue around, taking in the views until the path meets a more defined path heading north-westerly. Many of the maps only have a path as far as the footbridge but the path beyond is reasonably clear. At one point the path takes a detour away from the lake to find a gate through a fence.
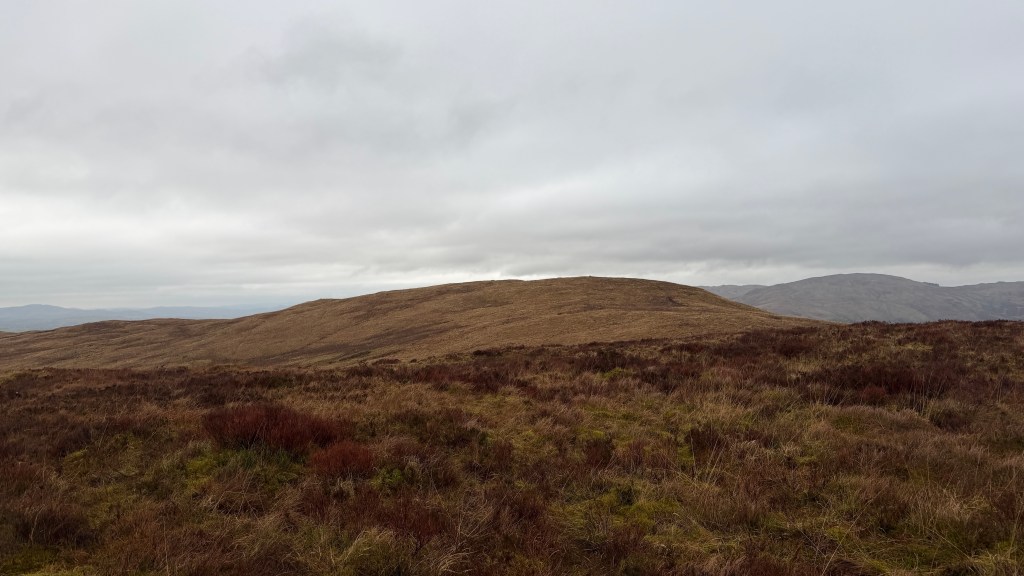
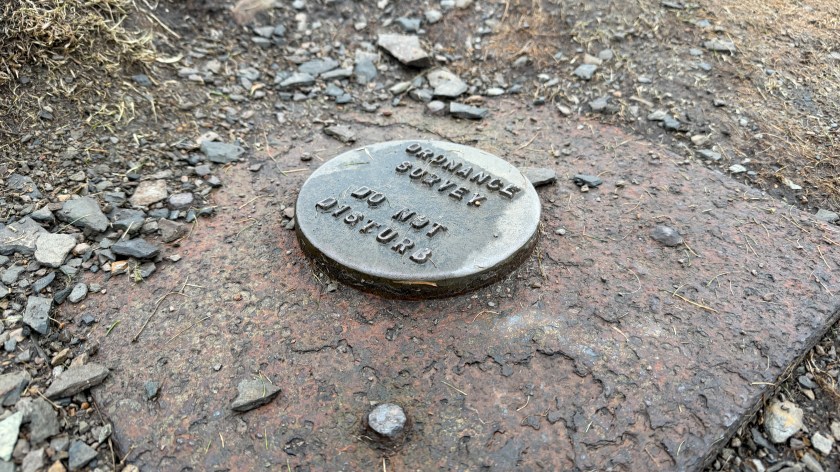
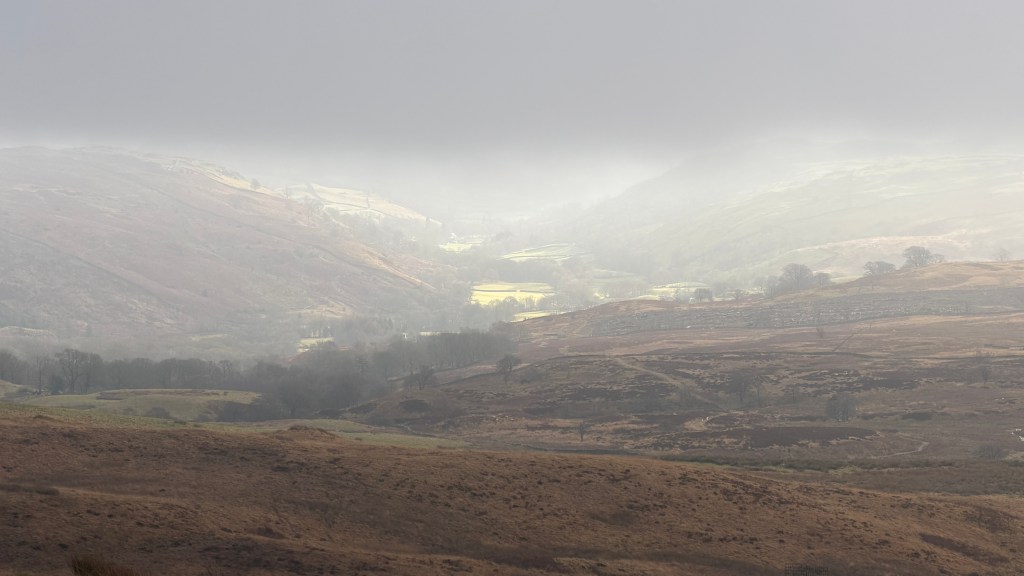
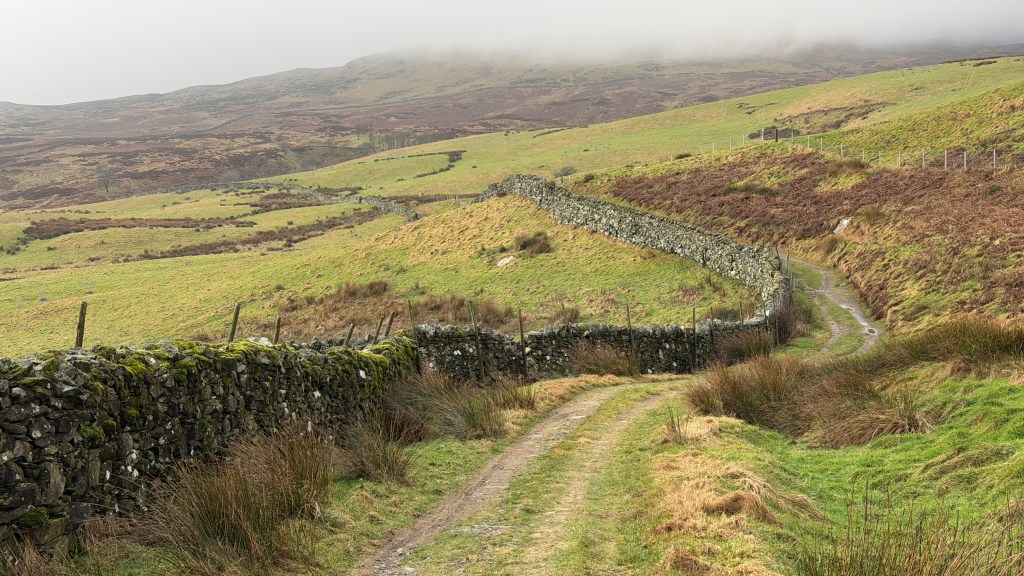
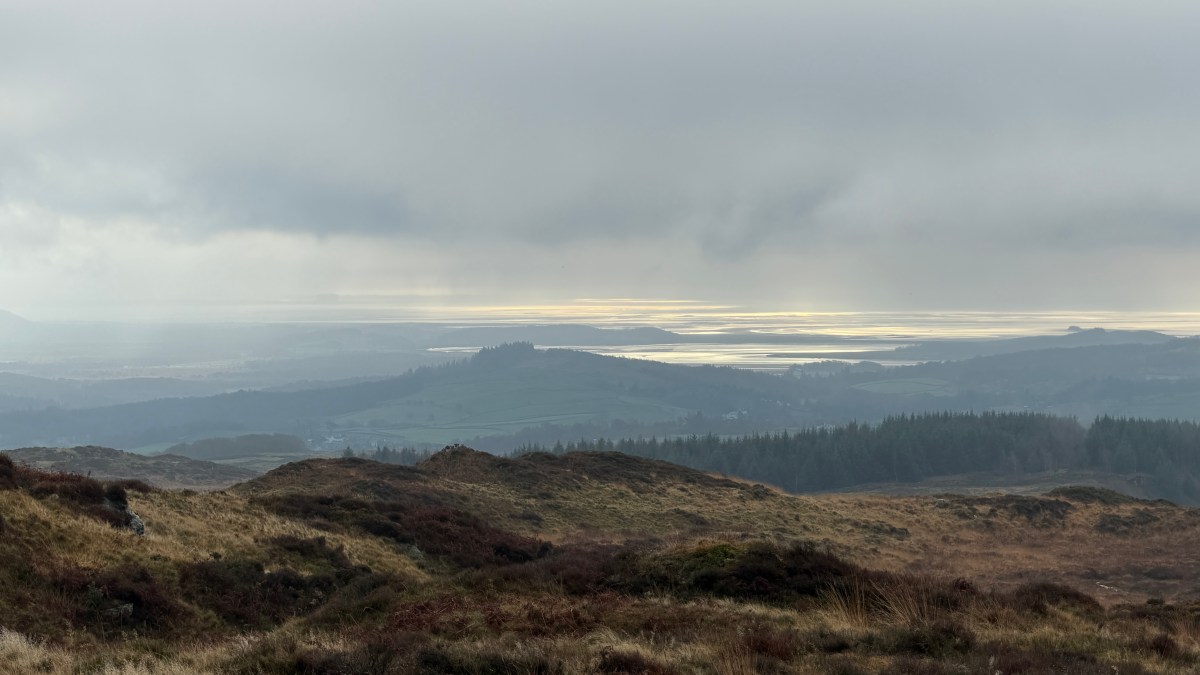
Along this path you can see Cocklaw Fell rising steadily to the right. You are looking for a path to the right heading pretty much straight up to the top of the fell. This path probably isn’t on your map and isn’t easy to find on the ground; sometimes you just need to set a baring and follow it. The summit of Cocklaw Fell is little more than a hillock and you may need to take a baring to convince yourself you are really at the top. The views over into Longsleddale open out at this point.
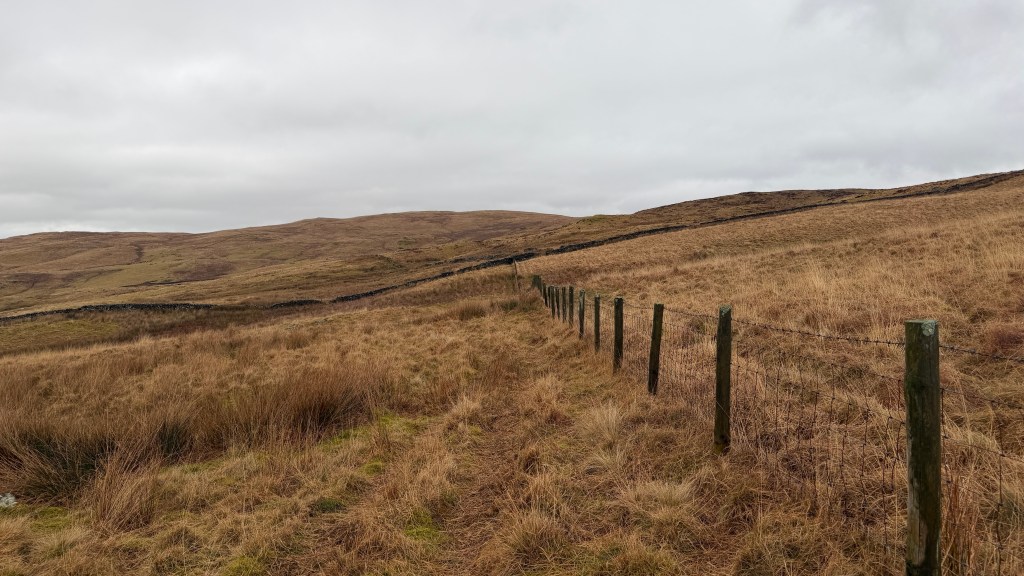
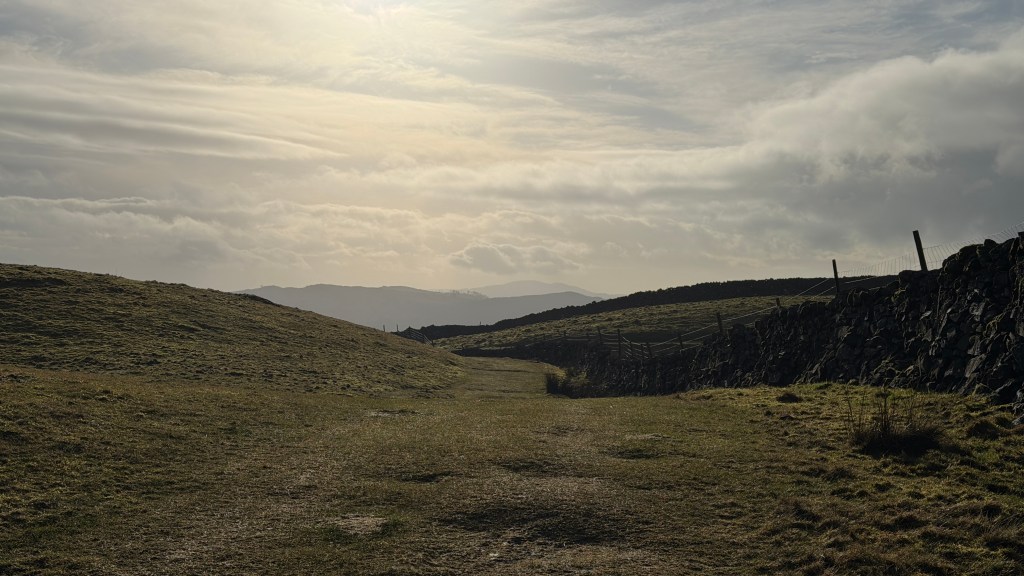
From the small summit of Cocklaw Fell you should be able to see a fence just below it to the north-west. Turn left at the fence and follow it along and down to the main track and to a point where a couple of paths meet at the intersection of a couple of fences. At this point there is a path that heads up towards the summit of Hollow Moor off the main track to the right. This path, again, looks like it’s regularly travelled by a quad-bike but it isn’t on the normal OS topographic maps, but is on the OSMaps app standard view and OpenStreetMaps variants like CoMaps.
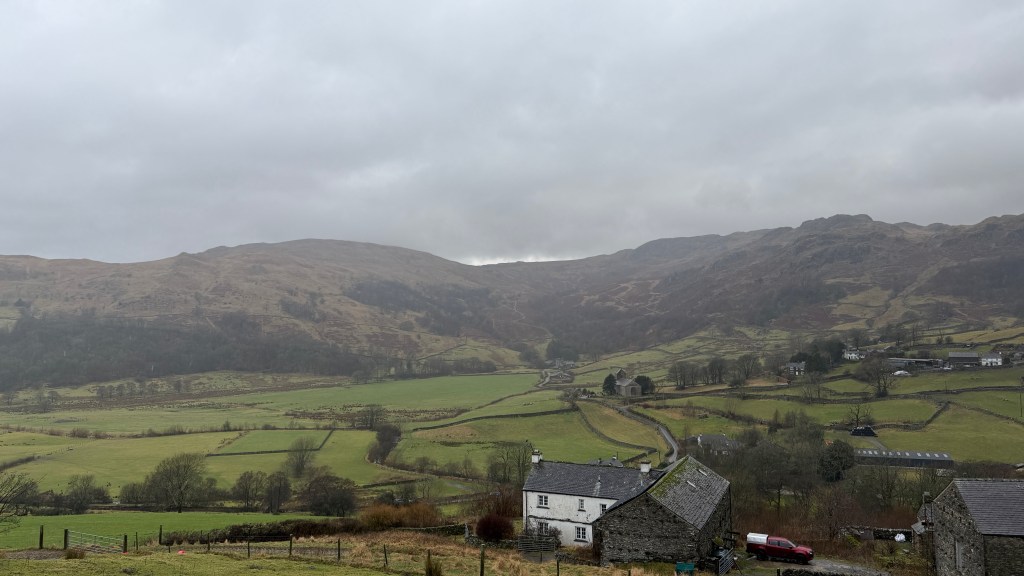
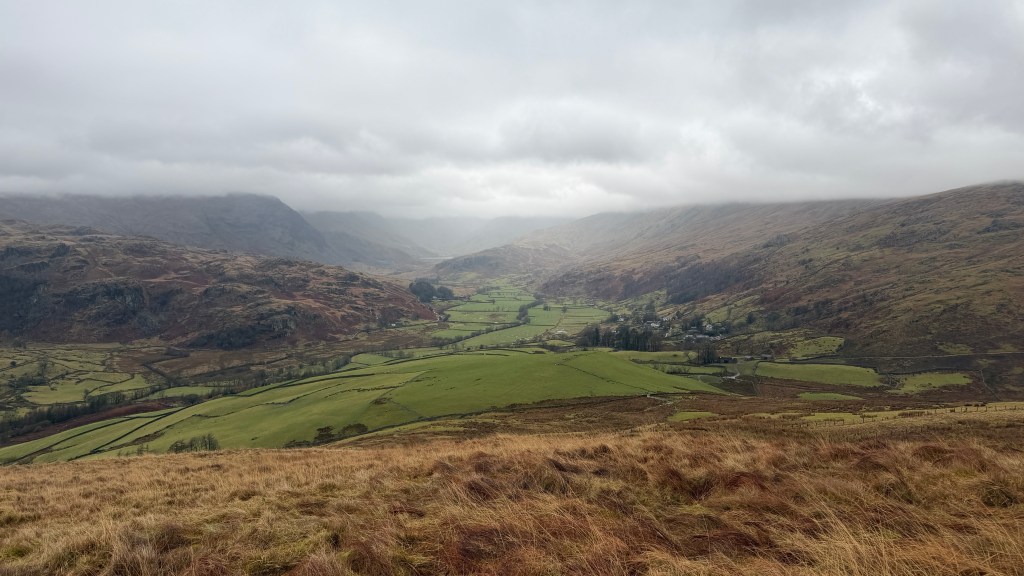
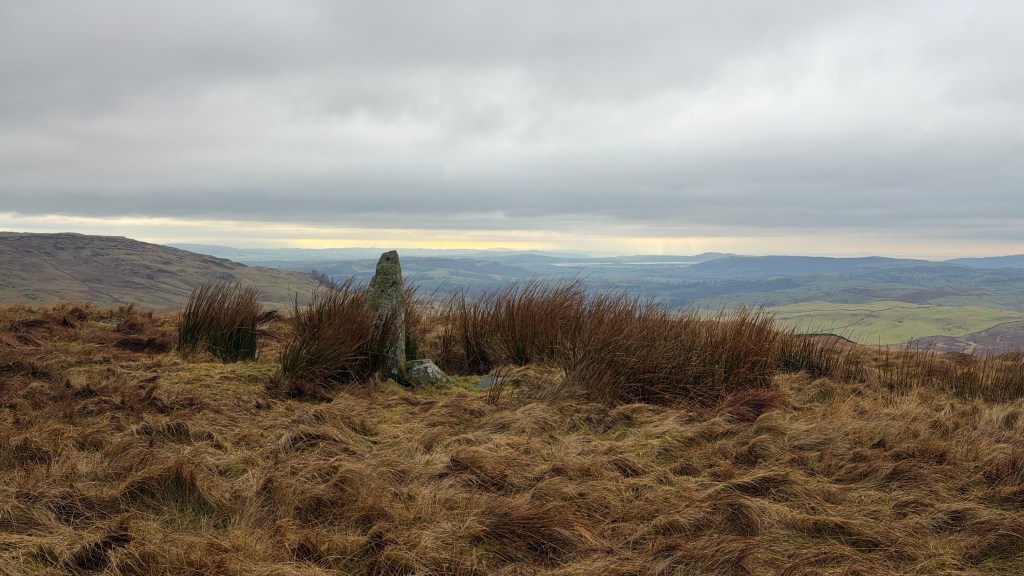
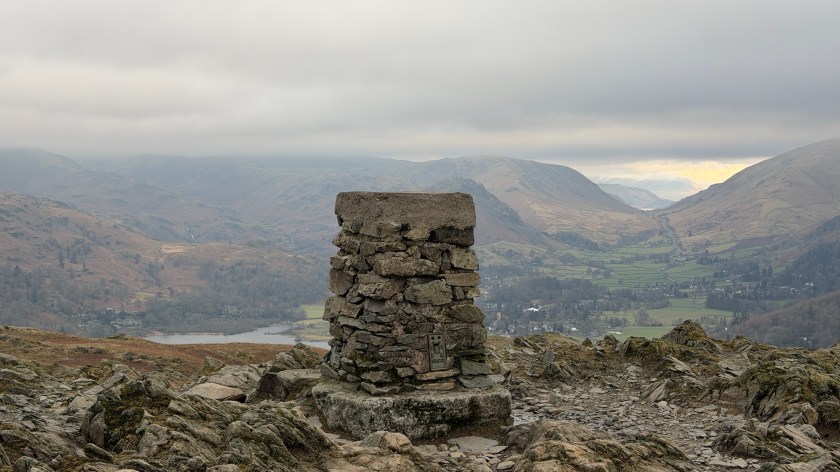
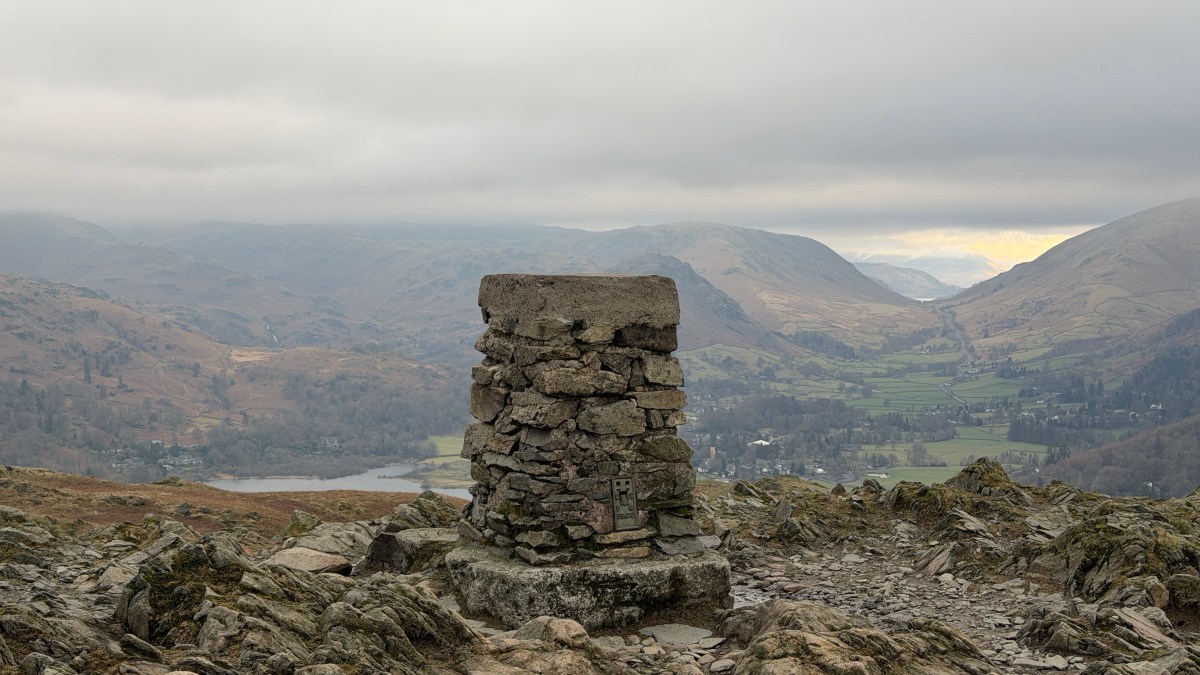
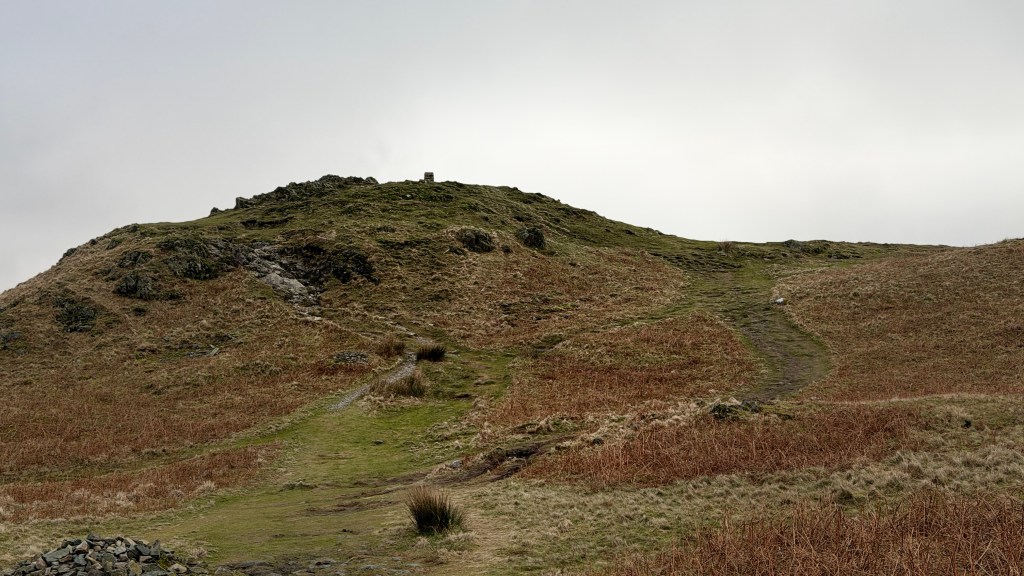
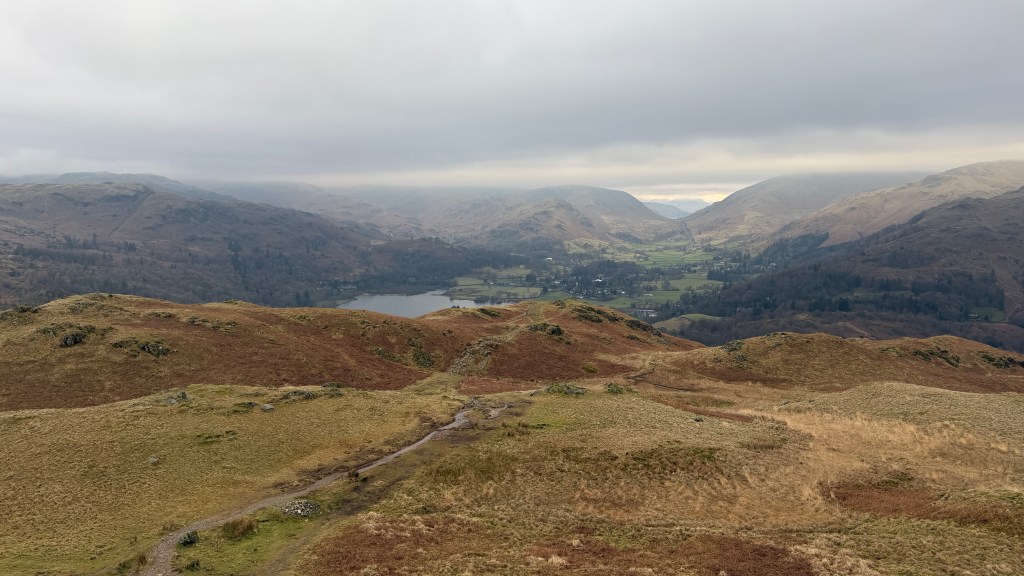
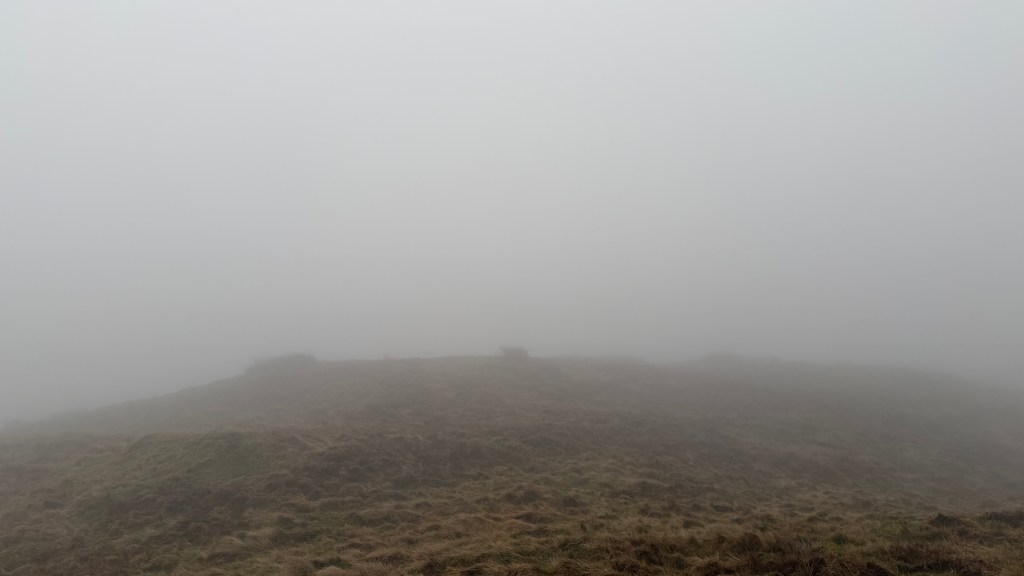
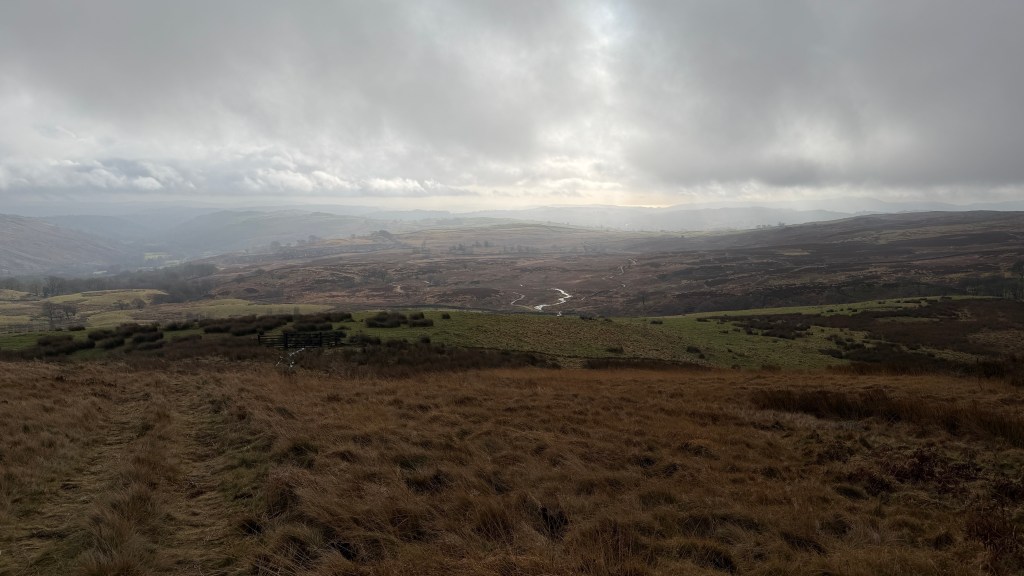
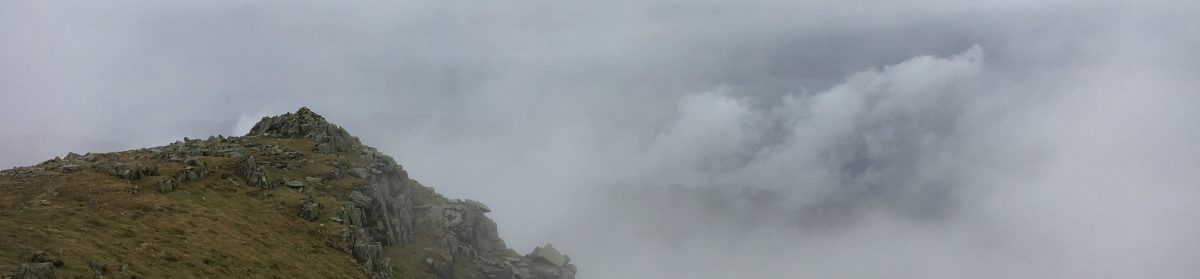
This path opens out the views towards upper Kentmere and the fells beyond, climbing steadily until you reach the summit of Hollow Moor. Near the summit of Hollow Moor it’s worth taking a few steps towards the valley to get the best views. Near to the top there is a stone that used to part of fence. According to the various maps this isn’t the summit, but it’s near enough to mark it.
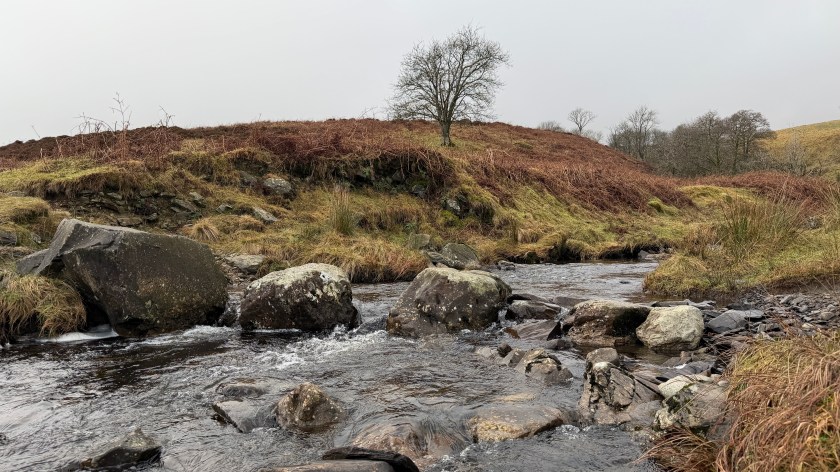
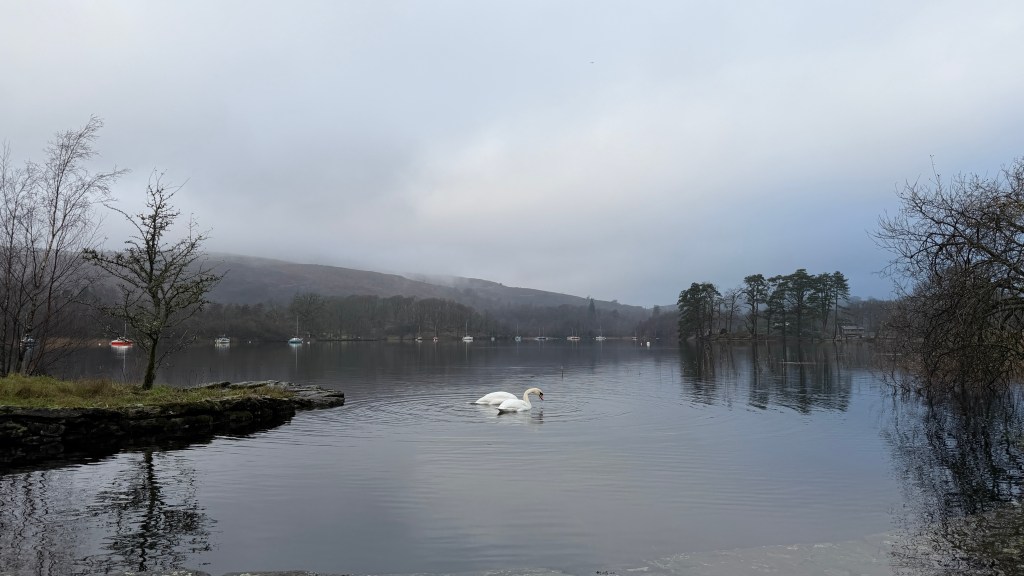
The path off the summit is a continuation of the path you came up on. This will take you down the side of the fell towards another bridleway that crosses Kill Gill and into Kentmere. There are a couple of routes through Kentmere, the simplest is to take the path along the side of the stream onto Hellwell Lane. Turn left on the lane back to the bridge across the Kent and up to the church, the institute and your transport.
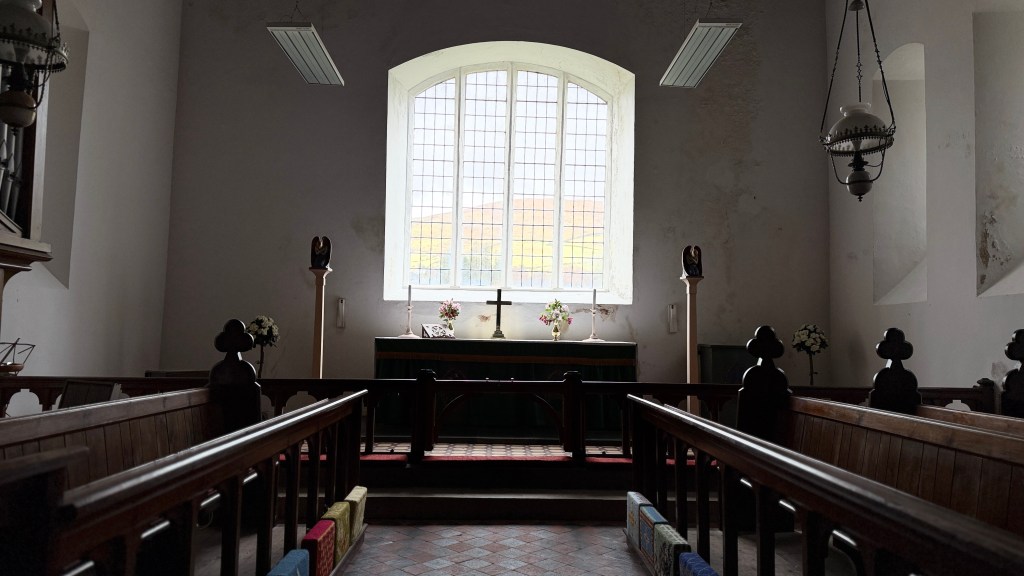
The church is often open and is lovely inside. There’s a also a really good local history and natural history display.
Alternatives and Extensions
There are probably simpler ways of ticking off Cocklaw Fell and Hollow Moor if you are trying to fit your Birketts list but this isn’t an arduous walk as it is. Perhaps you could miss out the circumnavigation of Skeggles Water but that feels like you’d be missing out on many of the best views. You could also do the fells from Longsleddale but it would be difficult to make it a circular route.